
Negative Painting Watercolor: Seahorse (Part 2: Building Layers)

In this second part of the watercolor seahorse series, we’ll begin building layers using one of my favorite watercolor techniques… negative painting.
Instead of relying on pencil lines, I’ll show you how to sketch and shape the seahorse directly with watercolor using soft values and loose brushwork. This keeps the painting feeling fresh, flowing, and organic while still giving you structure and control.
In this tutorial, you’ll learn:
🌊 How to build watercolor layers using negative painting
🌊 How to shape a subject without detailed pencil drawing
🌊 How to paint loosely while still creating definition
🌊 How to preserve softness and flow in watercolor
🌊 How to gradually develop form and depth with transparent layers
This lesson is wonderful for beginner and intermediate watercolor artists who want to loosen up, trust the process more, and better understand how negative painting creates depth and dimension.
If you watched Part 1 where we explored color choices for the seahorse, this is where everything starts coming together beautifully.
So grab your paints and let’s continue building this whimsical underwater painting together.
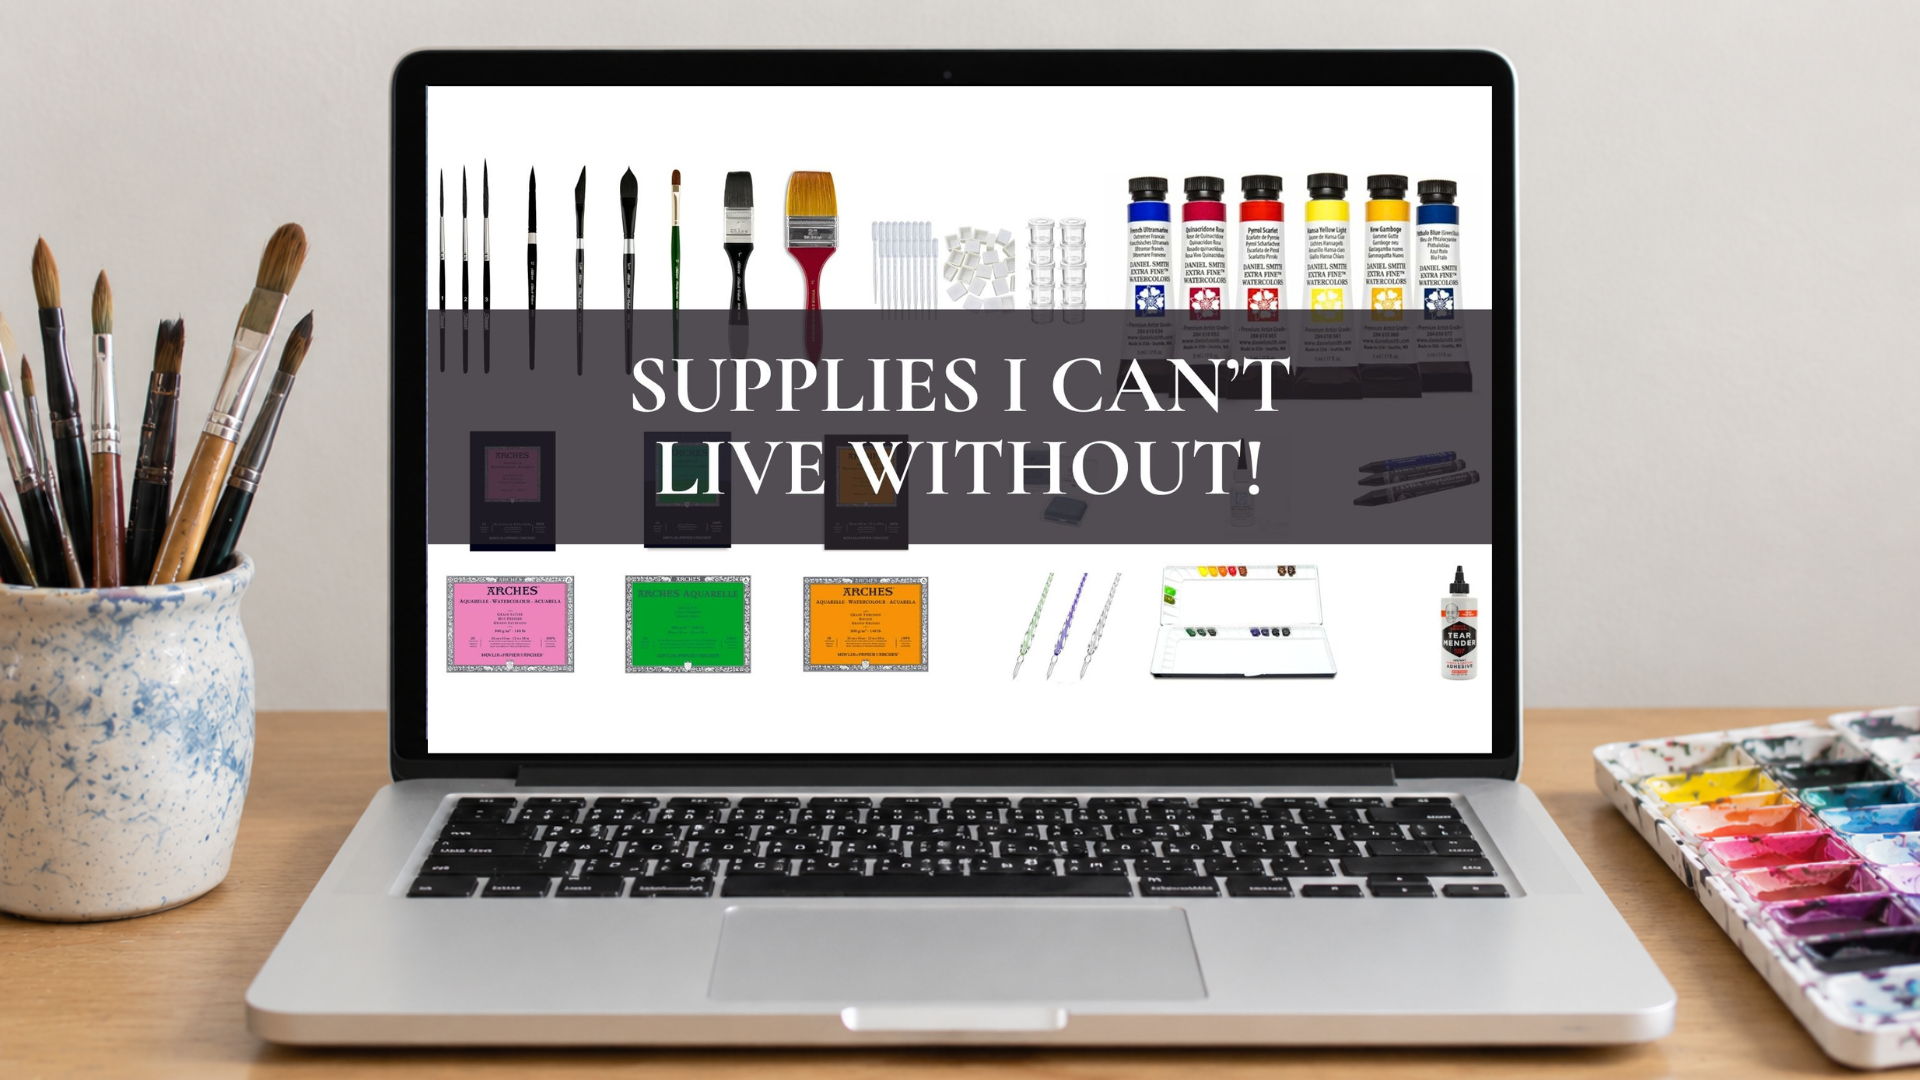
If you’ve ever felt unsure about what to buy or overwhelmed by all the options… then this is for you.
Inside my free mini-course“Supplies I Can’t Live Without!”, I walk you through the exact brushes, paints, paper, and materials I personally use in my own work and classes. And more importantly, why I use them.
Because in watercolor, your supplies shape how the paint moves, blends, and flows. And that directly impacts how confident you feel as you learn.
I’ve carefully curated this list to help you get started right away so you can spend less time guessing, and more time actually painting.
You can explore and shop everything through the links provided inside. These are affiliate links, which means I may earn a small commission at no extra cost to you.